
In-App notifications for PowerPlatform Model-Driven apps are now available in preview. The feature provides a central notification hub in the app and the notifications provides a fantastic vehicle to deliver contextual and user-specific information to end users.
While my last post showed how to enable notifications in model-driven apps, let’s see what the real deal is and start creating simple notifications.
As a use case, we will create a Power Automate flow that will notify users whenever a new article is posted on the official PowerApps blog (https://powerapps.microsoft.com/en-us/blog). Something like this.

The official documentation only shows examples using JavaScript and Dataverse Web API calls to create notifications. It’s good for developers but it might be a bit cryptic for other app makers. That’s why I want to use Power Automate to illustrate how easy it is for anyone to start using in-app notifications.
PowerApps Blog Notification Flow
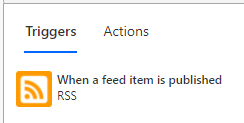
Trigger – RSS feed
As a trigger for the Flow, we will use the RSS connector ‘When a feed item is published‘.
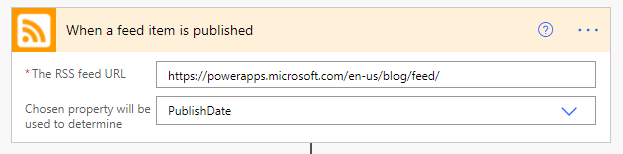
Set the URL to the Blog’s RSS feed (https://powerapps.microsoft.com/en-us/blog/feed/) and the trigger property to PublishDate. This ensures that our Flow will trigger every time a new article is published on the site
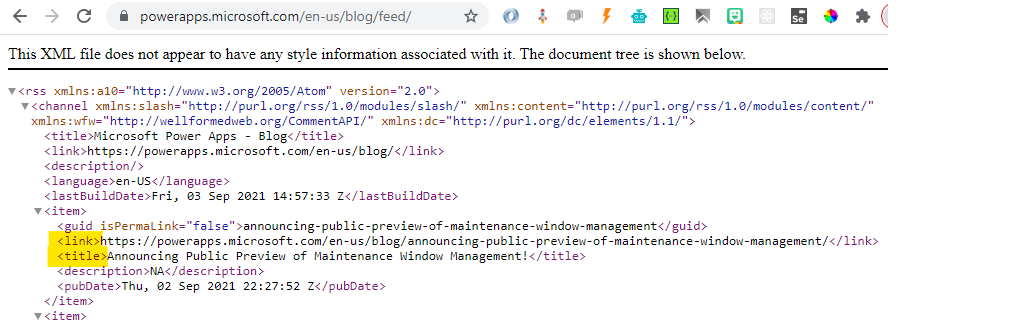
Here’s an example of the output of the RSS feed. Notice that for each item that are published we can extract the URL and the title. These values will be used later on.
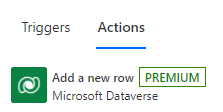
Create Notification Record
To create a notification, we simply need to Add a new row in the Notifications Table (appnotification) using the Dataverse Connector.
Just select Notifications in Table name and fill in the required fields to build the notification.
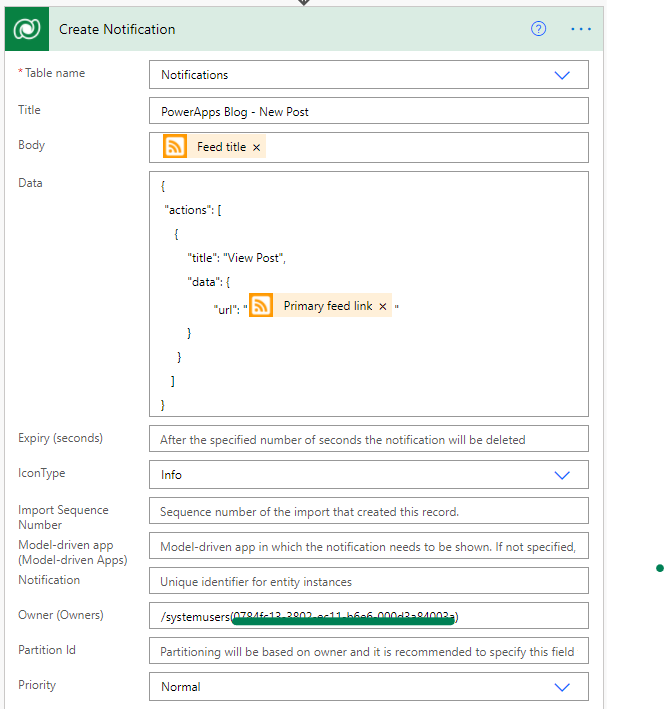
There is a couple of thing to notice here
1️⃣ Inject the Feed title from the RSS trigger in the Body of the record
2️⃣ In the Data field, a JSON construct is used to add an Action at the bottom of the notification. This is where the Primary feed link received from the RSS trigger will be injected. (For more example of what you can do with the Data field, see the official doc)
{
 "actions": [
    {
        "title": "View Post",
        "data": {
		"url": "{{Primary feed link}}"
        }
     }
   ]
}
3️⃣ Set the Owner of the notification.
/systemusers({{GUID of USER}})The Ownership of a notification record is the main driver of the in-app notification model. The owner of a notification is the user that will see and act upon the notification.
For this example I’m sending the notification to myself. However, in a real-life scenario you probably would have to retrieve a collection of users, loop over it and to create a new notification record owned by each users that needs to be notified.
⌚Wait for an article to be published
Now, when the Flow is turned on, you will receive a notification each time new blog post is published. Never miss out again on this precious info, Isn’t it great 😉
Take away
This post shows how easy it is to create simple notifications using Power Automate flows in a way that is accessible to any app makers without any coding required.
You can download the flow I demoed here:
In my next article, I will show how we can spice thing up a little bit and start embedding images to create kick-ass notifications.
Photo by grunge texture from Pexels
Be First to Comment